I have several Raspberry Pi's that are not earning their keep, so I decided to buy some SD cards and turn them into permanently-configured embedded devices. Of course, the normal solution to this problem is to have ONE Raspberry Pi, and switch the memory cards to achieve different functionality. But I'm not normal! (Heck, I even built a MAME cabinet because I'm too lazy to plug in a joystick!)
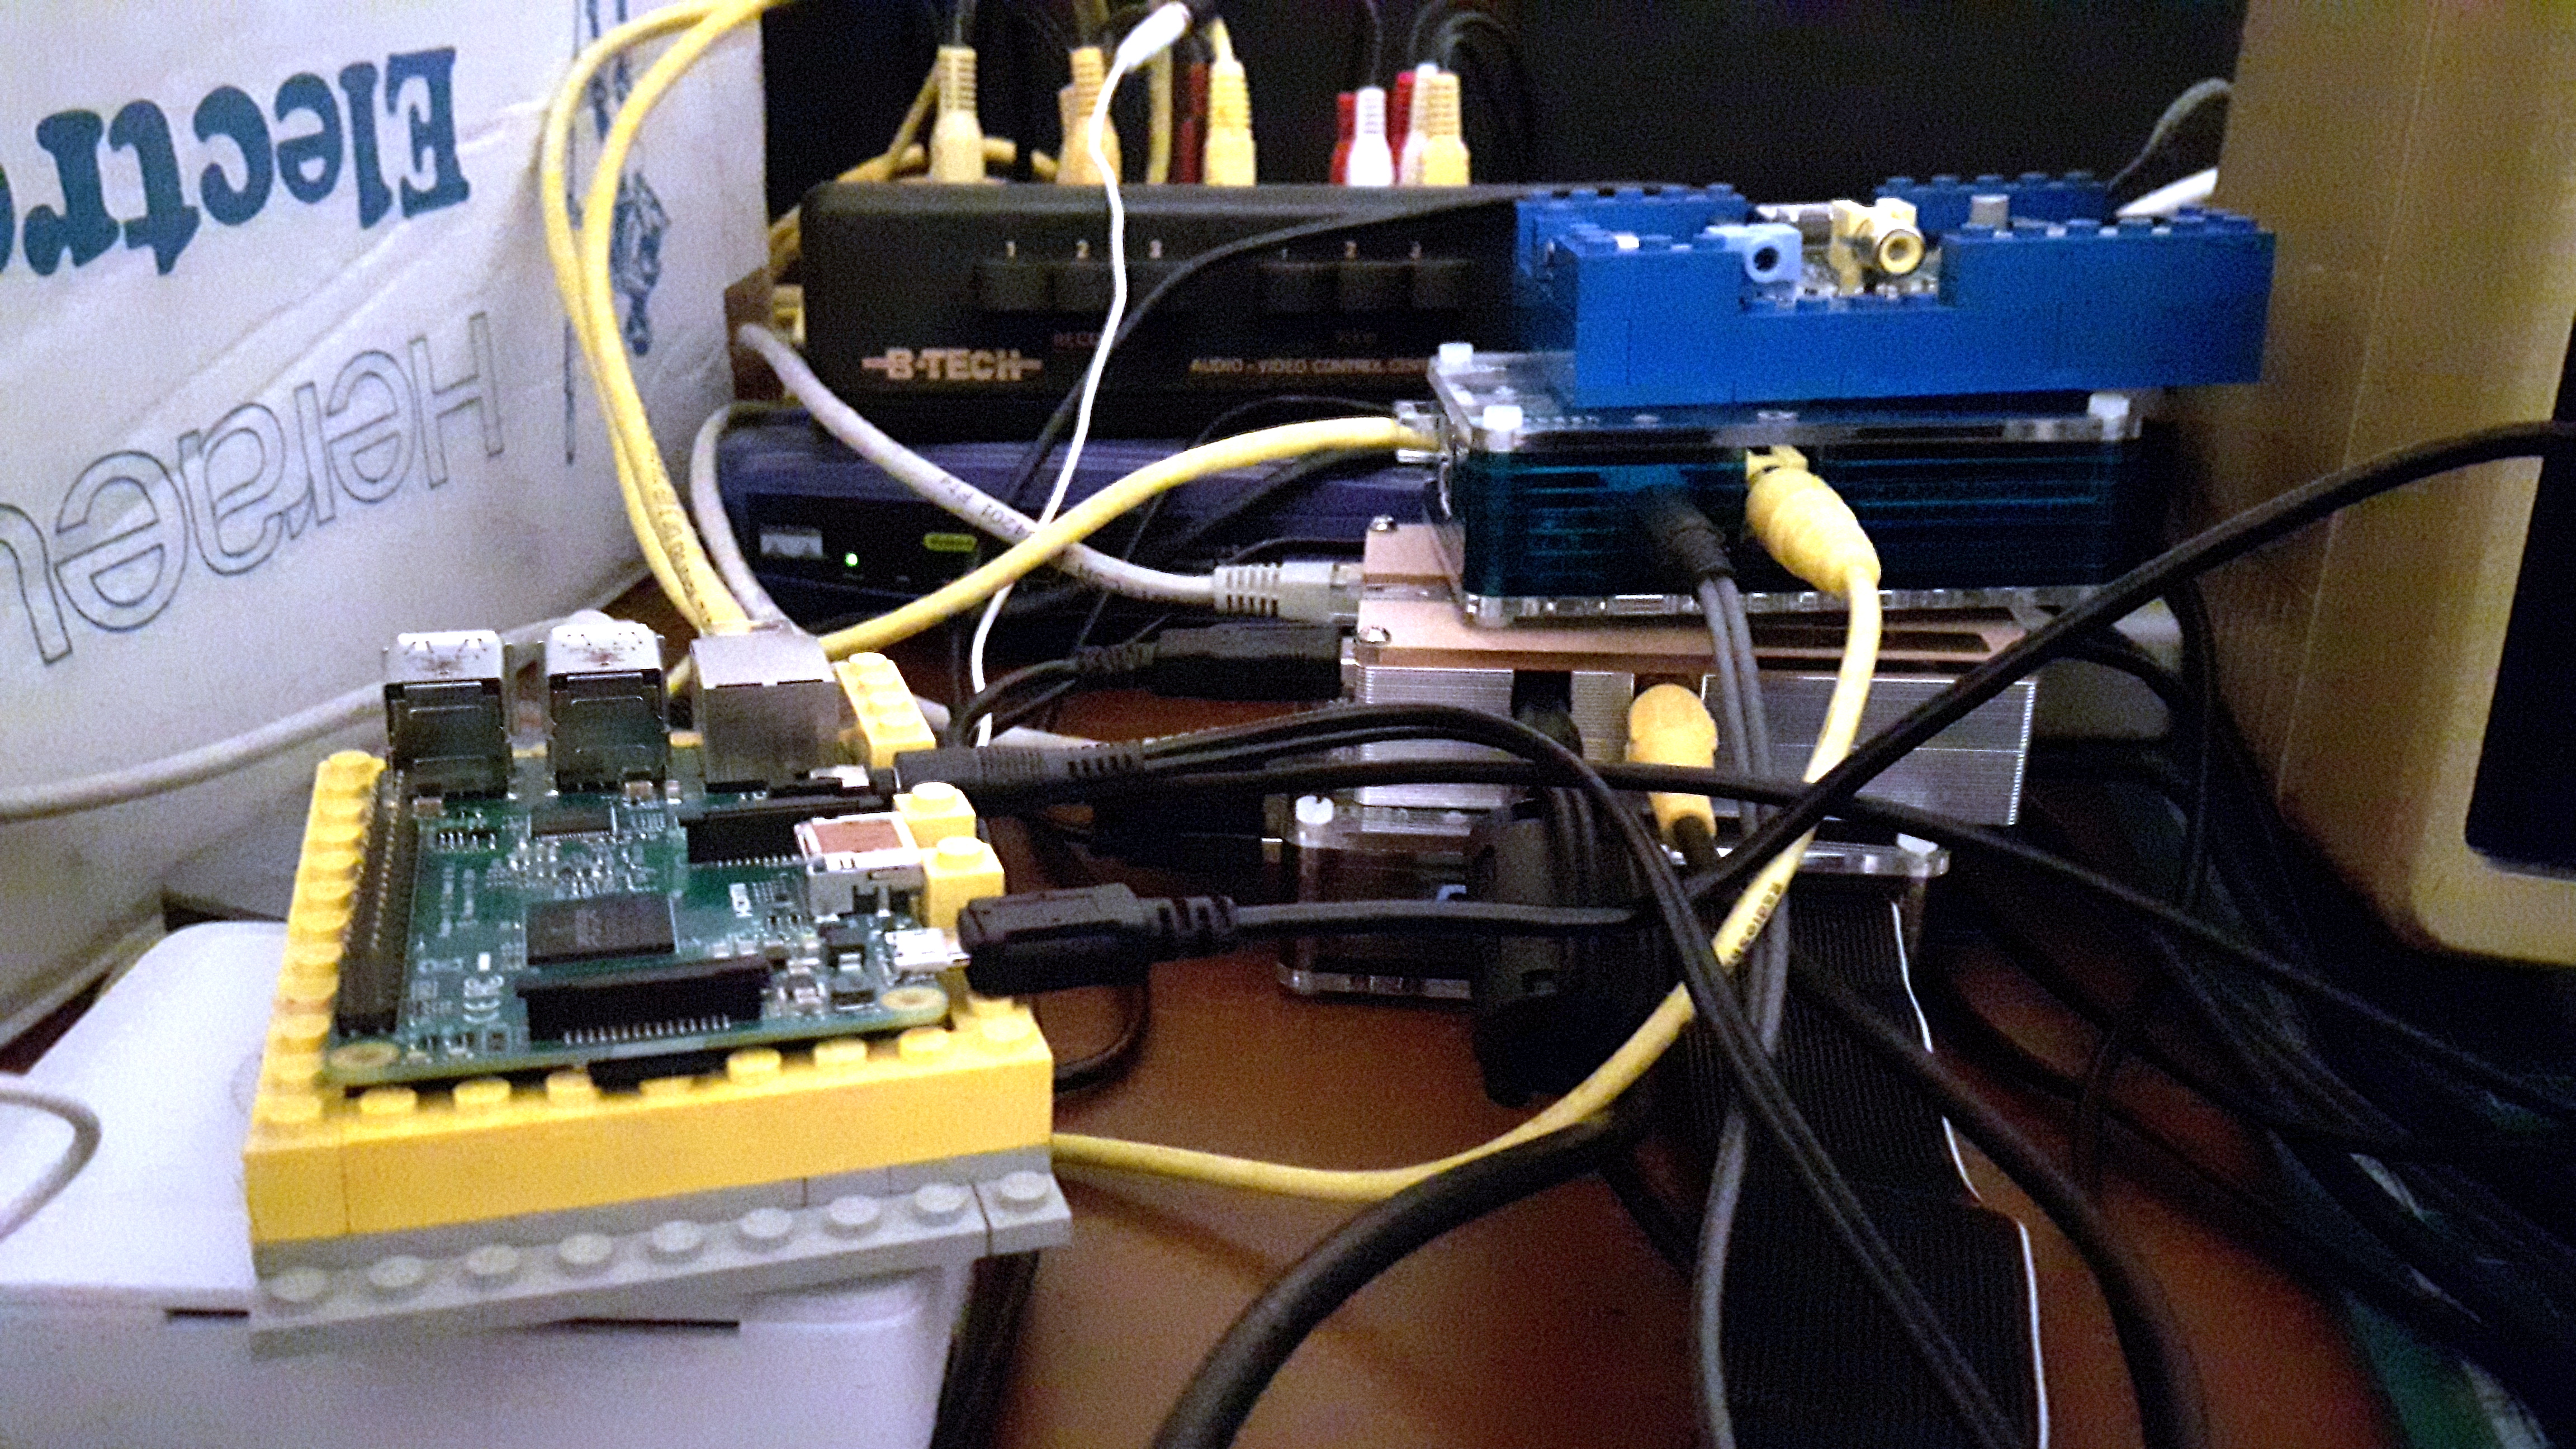
What you see here are 4 Raspberry Pi B's stacked up on the right, and 2 Raspberry Pi 2's on the left. Each RPi has its own SD card, and is powered via a USB hub (at the rear left of the yellow LEGO case). For ease of installation the Raspberry Pi's are plugged into a network router, the purple box at the back, although the intention is that most will become headless units. Finally, each machine is connected to a B-Tech AV switch box with composite video and stereo audio cables. I can then use this switch box to route the output of any given RPi to the input of the TV next to it, and the power amplifier to the left. It turns out the B-Tech device has a lot of hum on the audio output, unless both outputs are plugged into something, so I've added the white pillow speaker to patch that problem.
Current projects:
Links to all the software are included at the bottom of this article.
As for the software I'm running. Read on...
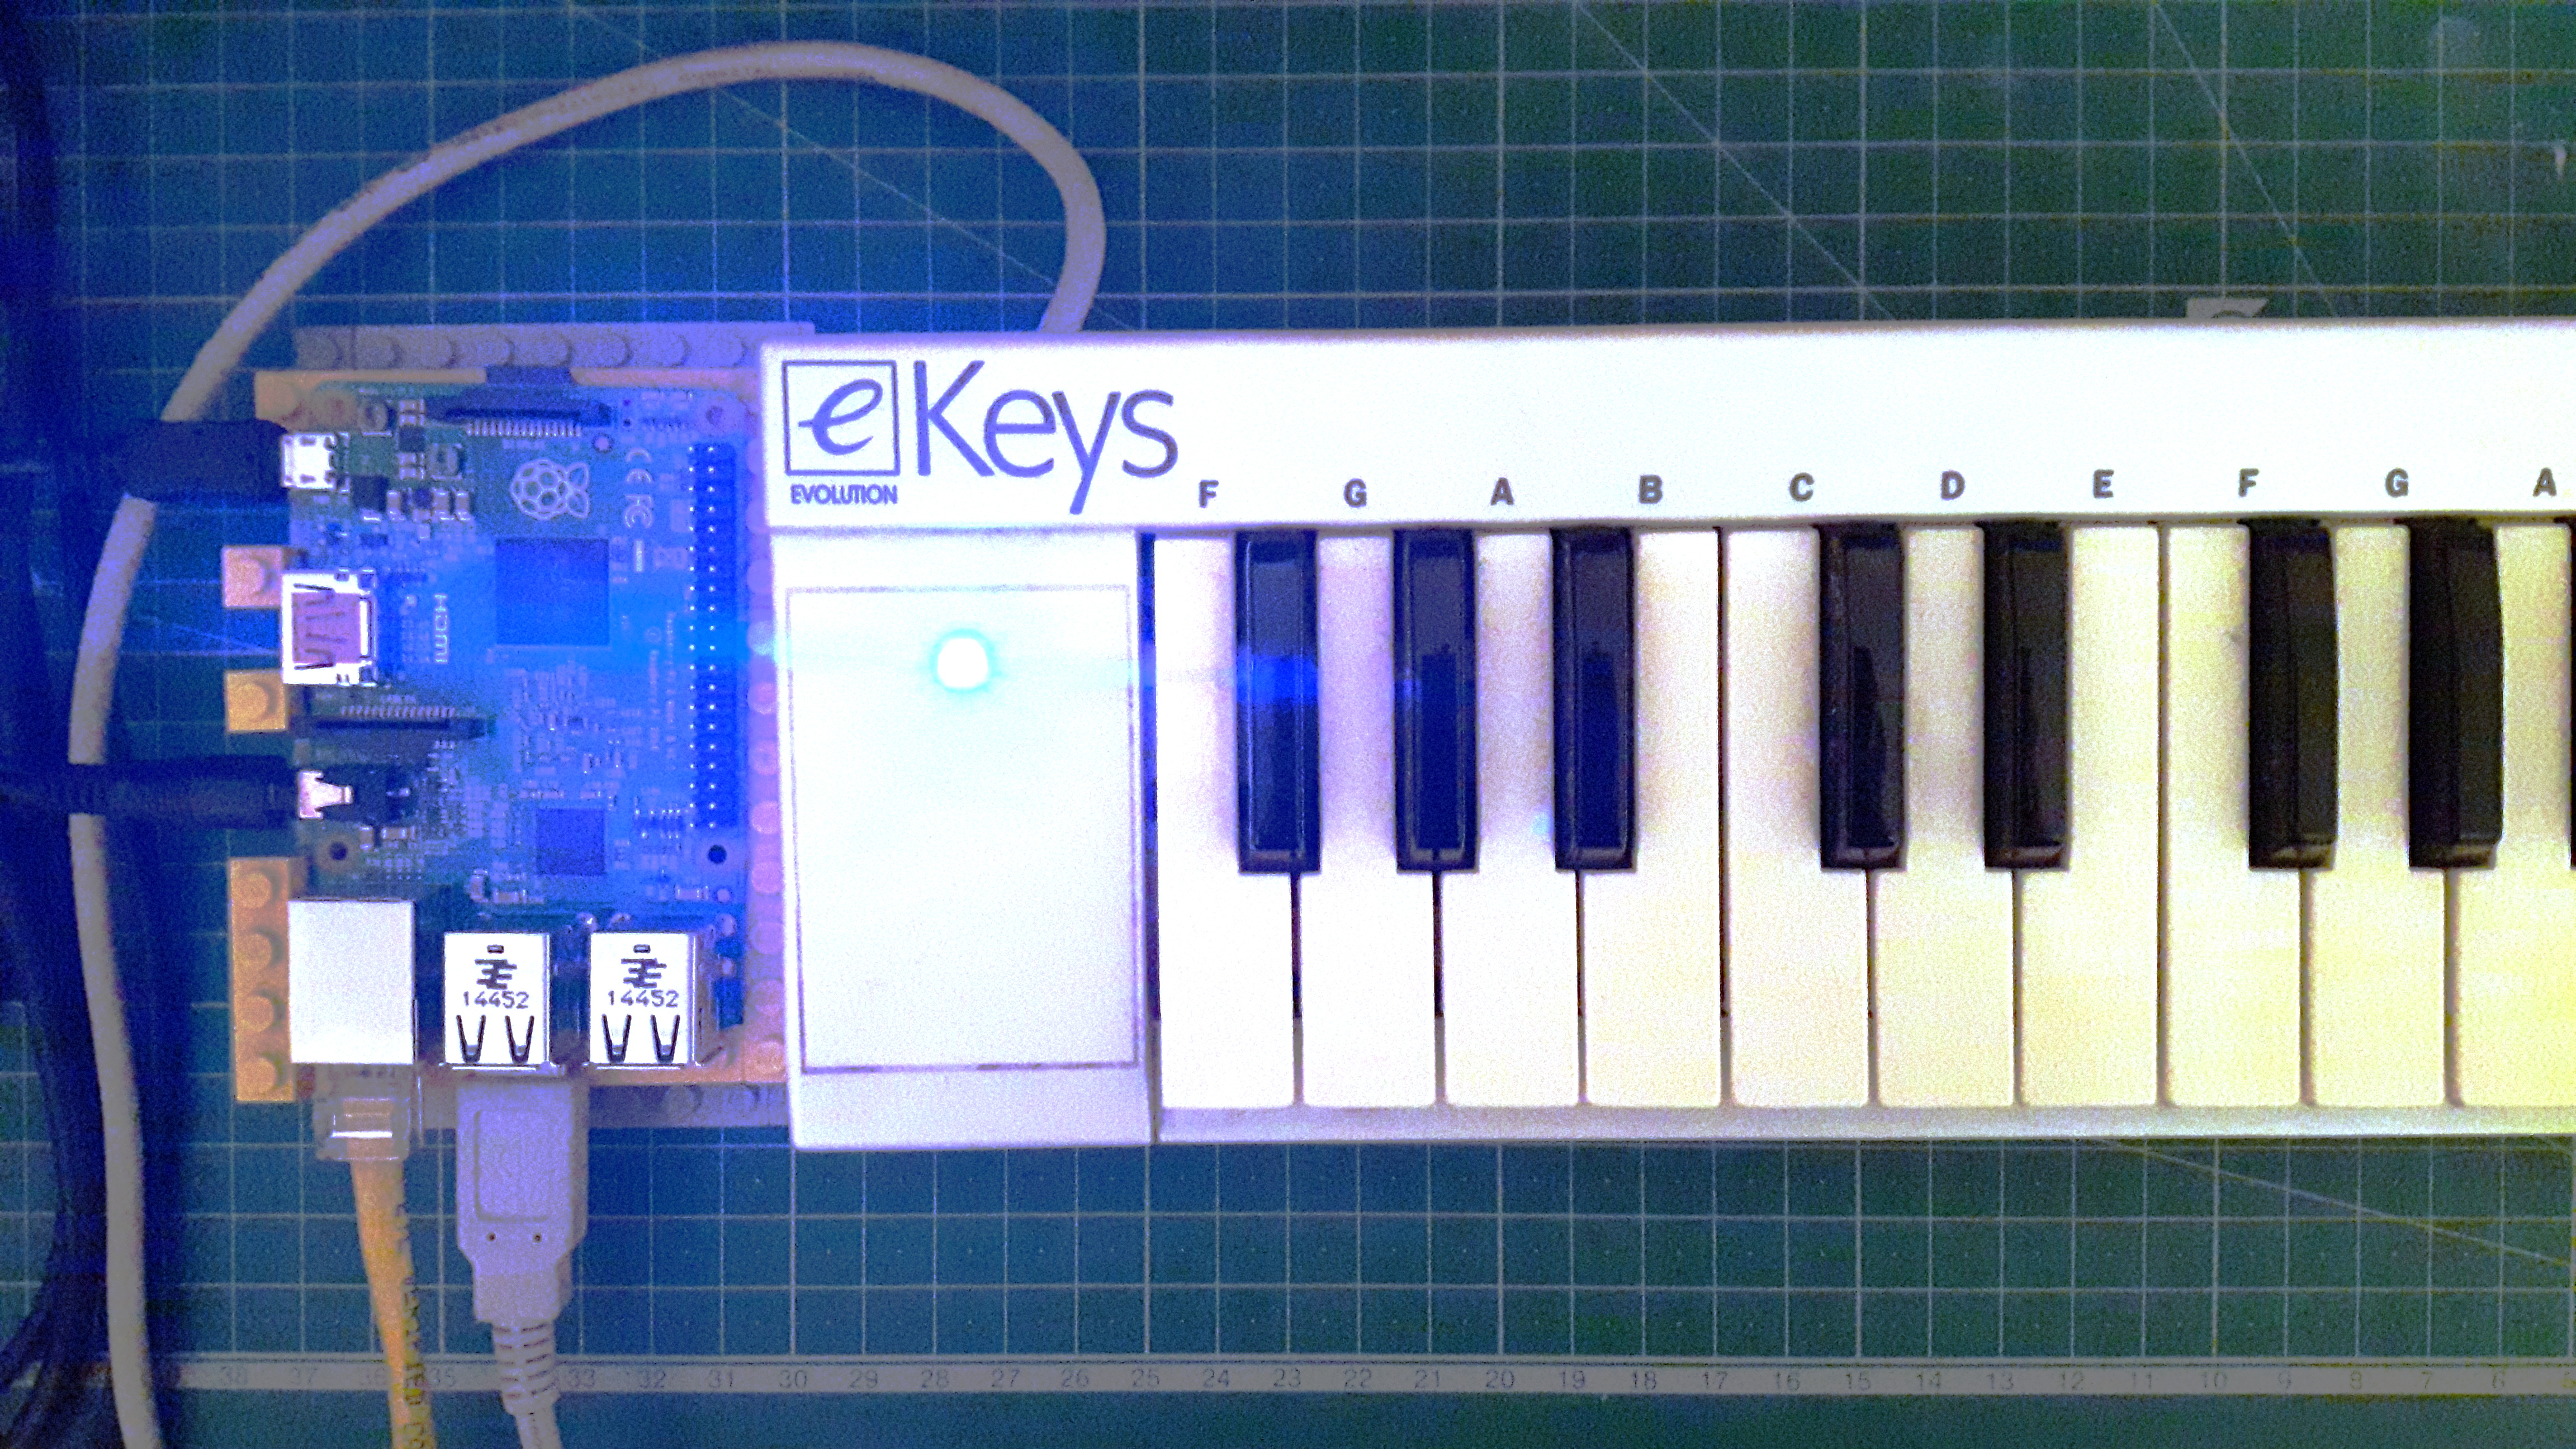
This is a headless Raspberry Pi soft synth which uses SF2 soundfont files to generate noises, and is controlled by a USB MIDI controller.
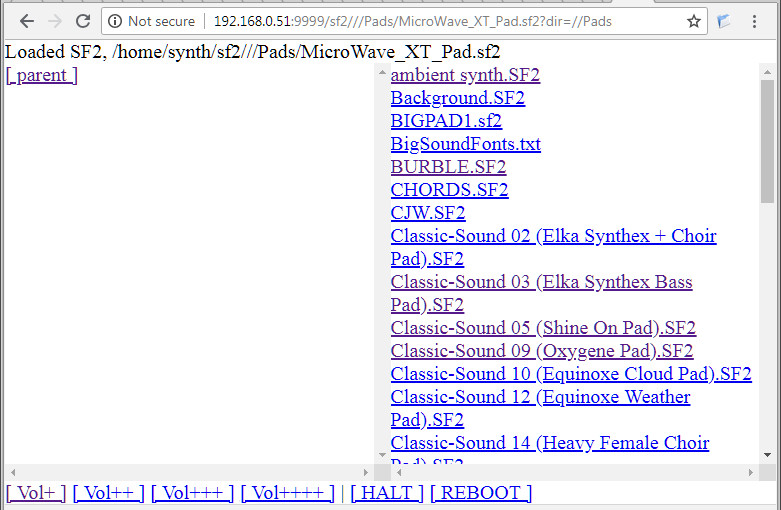
Just for fun, it uses a web server in bash (yes, really!) to remotely control which soundfont is in use, so it can be run headless. I use my mobile phone, hooked into the home wifi, to contol it.
By removing the RPi from the stack and attaching it to the keyboard turns the FluidPi into something that is almost a stand-alone synth. It just needs a network connection, or some alternate way of changing sounds. In the future I might add some buttons to the GPIO port, along with an LCD screen.
This is nothing more than a Spectrum emulator, hooked into the stack. What makes it marginally unique is that the emulator is running bare metal code so that this boots up as quickly as the original did.
Progress, eh? :)
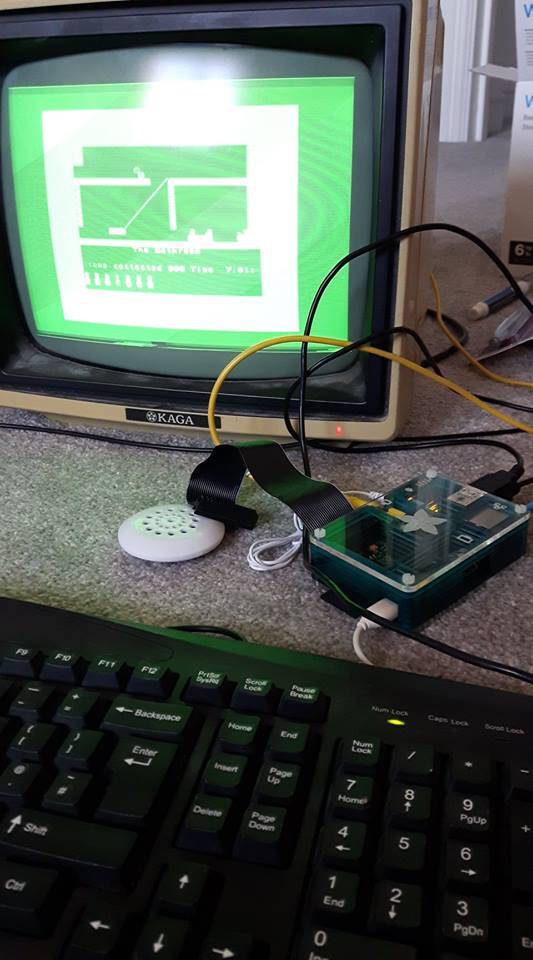
(This photo was taken pre-stacking.)
It doesn't really have a name, but I'm calling it 'Vega Minus' in memory of the 'Vega Plus' project.
I suppose the archtypal headless RPi app is "something" with a webcam. Consequently, I created a few scripts that make use of the £5 webcam I bought years ago.
#!/bin/bash

FOLDER=/home/steev/images

# All units to be in seconds
FILM_FPS=25
FILM_DURATION=$((2 * 60))
LIFE_DURATION=$((8 * 60 * 60))

AVERAGE_SIZE=12
TOTAL_FRAMES=$(($FILM_FPS * $FILM_DURATION))
INTERVAL=$(($LIFE_DURATION / $TOTAL_FRAMES))

echo "About to capture $TOTAL_FRAMES frames, one every $INTERVAL seconds."
echo "Estimating disc space : $(($AVERAGE_SIZE * $TOTAL_FRAMES)) KB"

for i in `seq 1 $TOTAL_FRAMES`;
do
  DATE=$(date +"%Y-%m-%d_%H%M%S")
  fswebcam $FOLDER/$DATE.jpg
  sleep $INTERVAL
done
Once the images have been grabbed, you can build them into a movie:
#!/bin/bash

TARGET_MOVIE=output.mp4

rm -f $TARGET_MOVIE
cat images/*.jpg | ffmpeg -f image2pipe -r 25 -vcodec mjpeg -i - -vcodec libx264 $TARGET_MOVIE
When an RPi first boots it is in text only mode. The graphical user interface, X, is available later. However, it is still possible to display graphics on the screen by using the frame buffer interface. One such utility is fbi
fbi -t 1 -1 -a $FILENAME
So far, I have not found a way to update the image being displayed in real-time, as would be necessary if one would grab one frame from the webcam, whilst displaying another.
Download the A headless Raspberry Pi soft synth
Download the ZXBaremulator
 Marquis de Geek